15 Canva Tips for Productivity!
Resources
- You can create a Canva account here
- Download the designs I mention in this post here
- Canva’s Font Pairing Guide here
- Canva Color Wheel Tool here
- Color Hunt (free third-party tool) here
Watch it in action
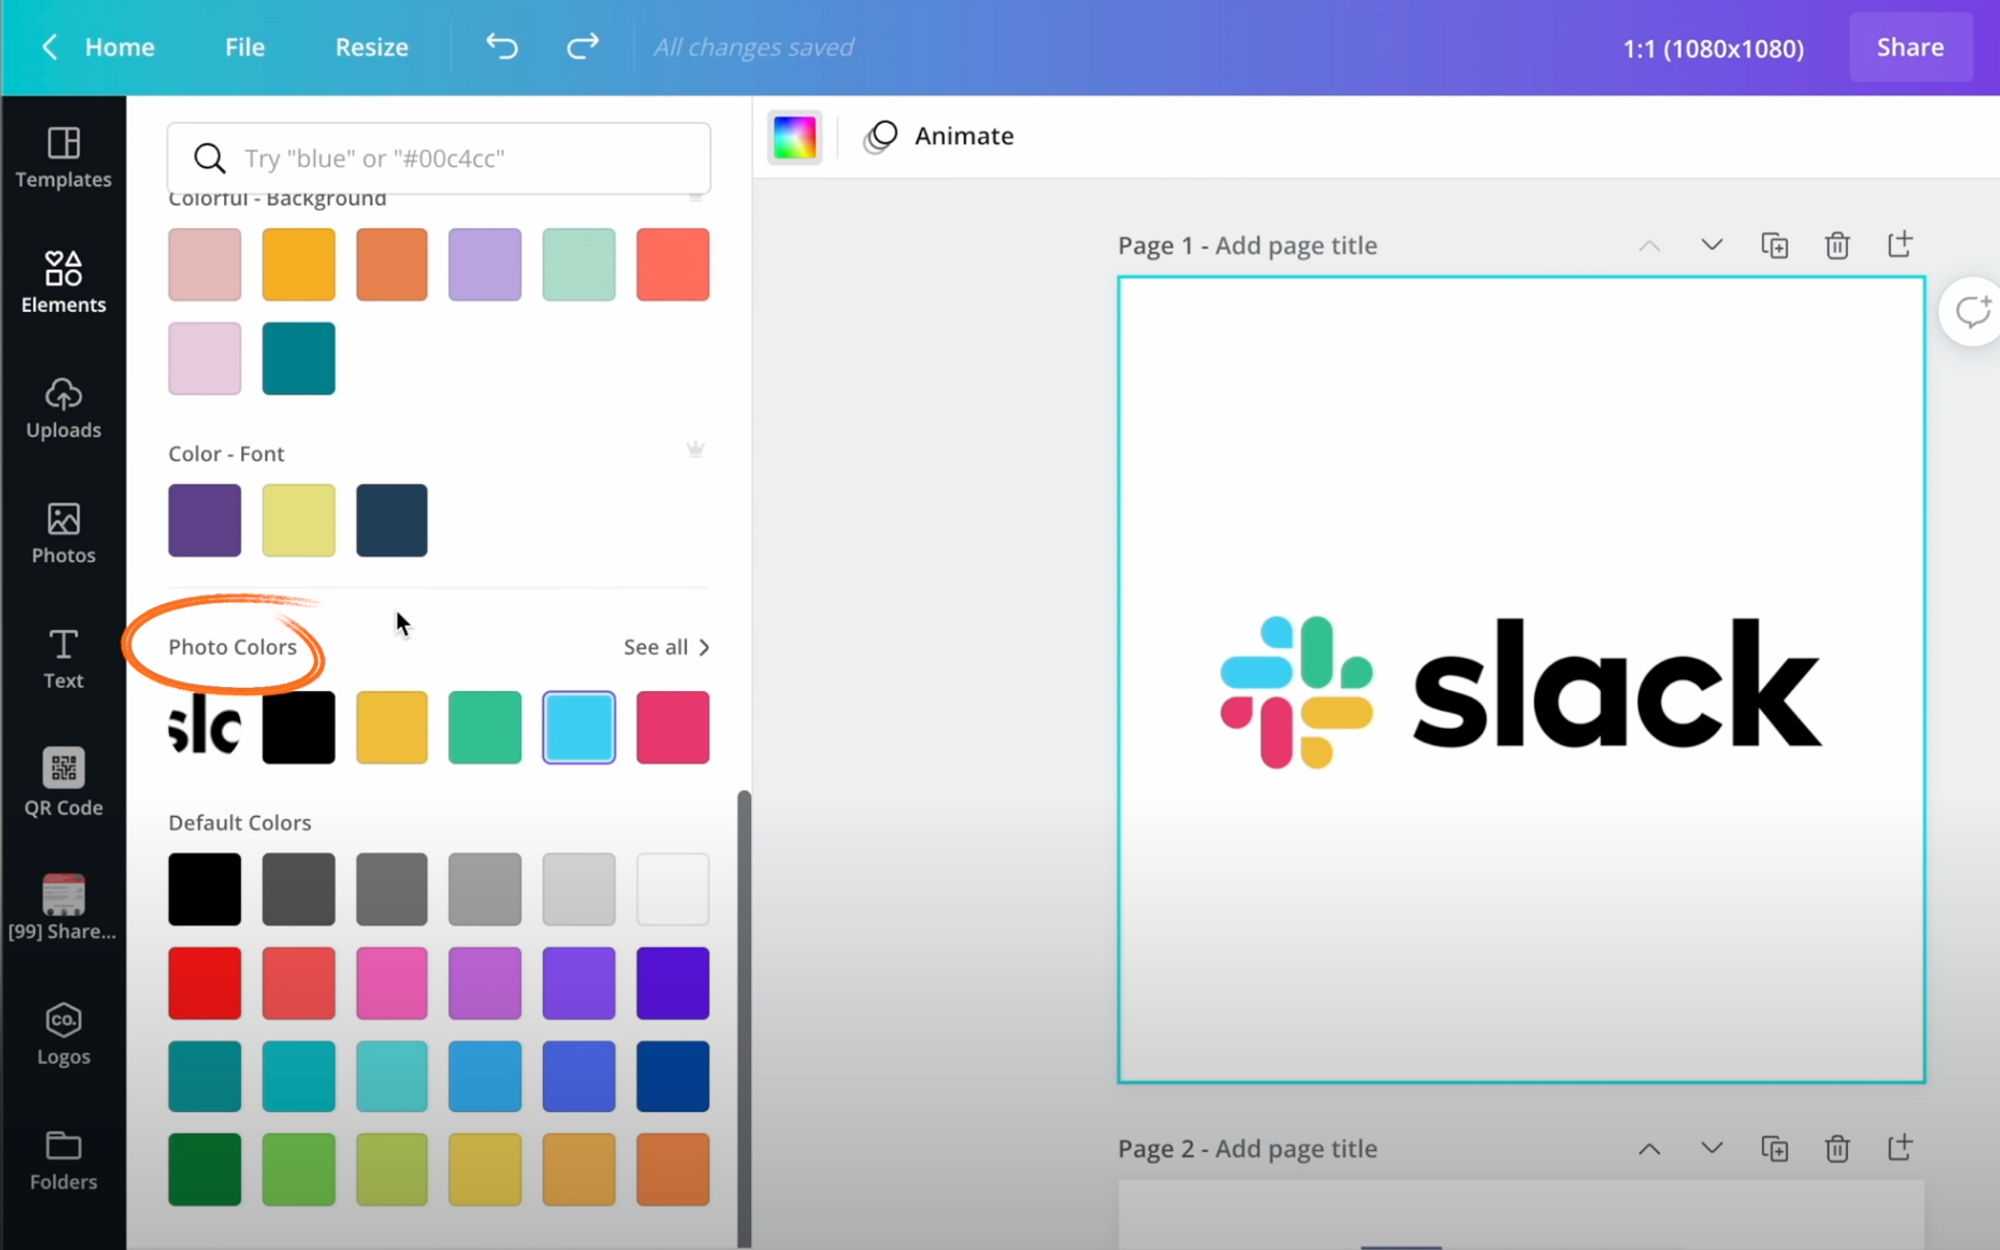
Tip #1 - Steal Photo Colors using Canva
So I’ve talked about how you can use a free online tool named Color Hunt to get inspiration for color palettes and it even has hex codes available so you can use the colors immediately.
But what if you want to use the color scheme of a specific image or company logo you found online?
You can literally just copy and paste an image and the color will be automatically detected and will show up in “Photo Colors”.

Tip #2 - Blur Design Background
For backgrounds that might be clashing a little bit with the elements on top follow this steps:
- Click “Edit Image” with the background selected
- Change blur to 5 and transparency to 90
And now, as you can see below, there’s more of a separation between the background and words on top.

Tip #3 - Add White Outline to Image
If you want a specific element to pop a bit more on screen:
- Drag the image into the design
- Click Edit Image > Glow > Click again to go to settings
- Change the color to white, a tiny bit of blur and adjust the size
This combination of the blurred background and the outline will really help the main elements stand out a bit more.

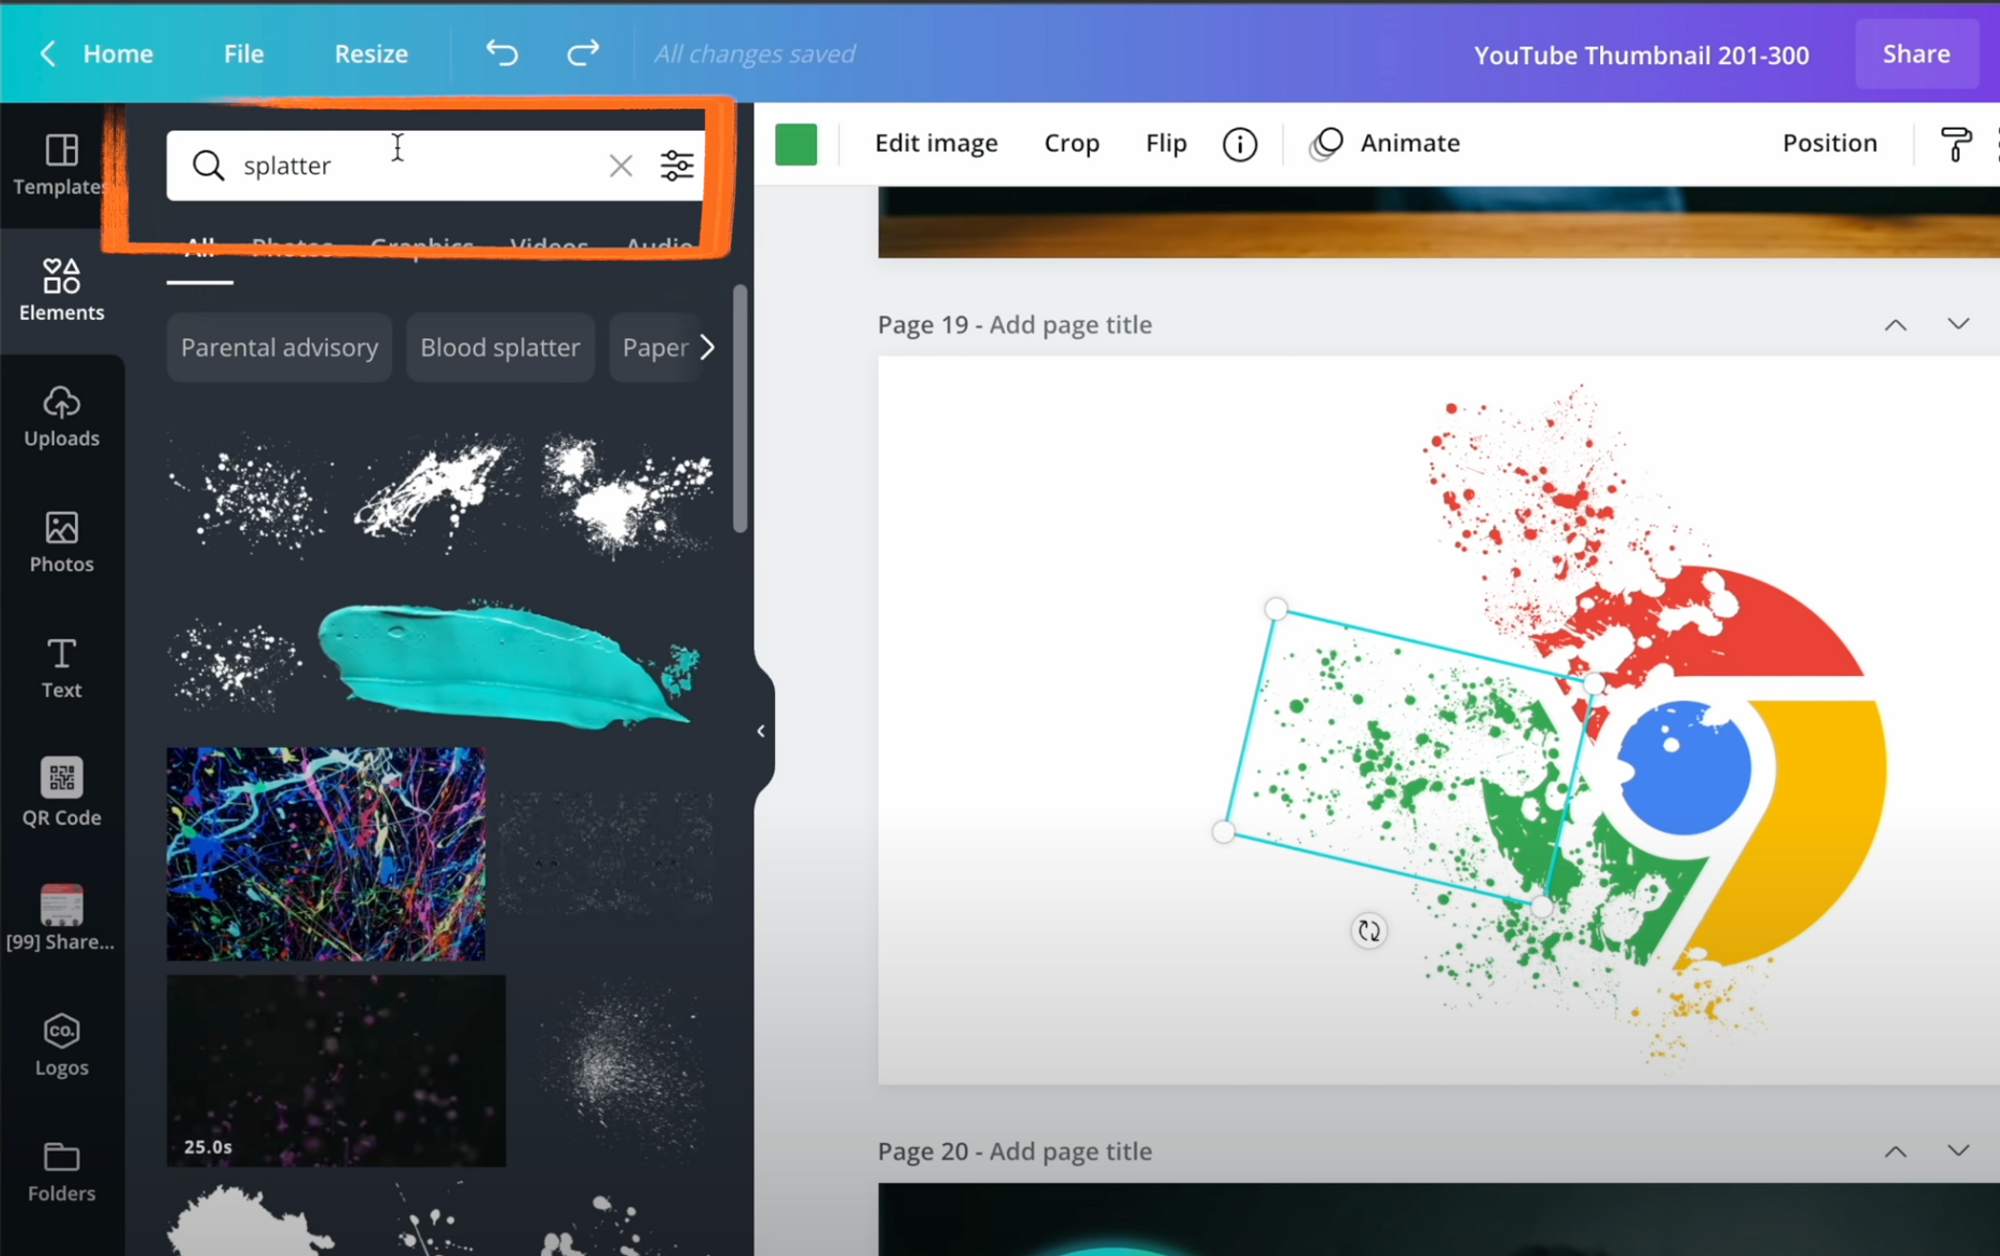
Tip #4 - Thanos Dust Particle Effect
As you can see in my design, I just used a bunch of splatter elements. Some are pure white in color, to make it seem like the icon is disappearing and some are colored in, to make it seem like some particles are floating away.
Instead of boring you with a walkthrough I linked this exact design in the Resources section on top so you can make a copy and play around with it.

I’ve categorized the next 4 tips under “efficiency” since they’re all designed to increase your productivity when using Canva.
Tip #5 - Duplicate Element in Canva
Just press CMD+D or CTRL+D on Windows to duplicate an element, or you can press ALT or OPTION keys to duplicate and drag.
Furthermore, you can double click to start cropping and quickly access cool effects and since they are 2 separate images you can highlight the two and press CMD+G to group them together.
Tip #6 - Group Elements in Canva
Go to Files > Show Ruler > drag a vertical guide from the left to the middle to make sure the image is centered. You can also click Position > Center to do the same thing.
Press “R” to quickly create a rectangle > Resize > change transparency to highlight the address like this.

Tip #7 - Select Layers in Canva
Now there are multiple layers, I can hold down “CMD” on Mac or “CTRL” on Windows and click to select the different layers.
Huge thanks to Aurelius Tjin for sharing this tip in his Canva tutorial video, check out his channel for more!

Tip #8 - Useful Keyboard Shortcuts in Canva
Other keyboard shortcuts you might want to remember are:
- Press “C” for Circle
- Press “T” for Text
- Press “L” for Line
Once you’re happy with your design make sure you zoom out a bit by holding down “CMD” or “CTRL” and scrolling out since you want to see how your design looks from afar.
The next 5 tips are for students and working professionals alike.
Tip #9 - Smart Mockups in Canva
If you have a screenshot or a product mockup to include in a presentation, make it look more natural by going to Edit Image > Smart mockups > and picking one you like. Alternatively you can also search for “Frames” for a more basic look and feel.
In your final presentation at work, incremental small changes like the image below, it will make a larger difference than you think in the eyes of your audience.

Tip #10 - Import PDFs into Canva
Another hack I wish I knew much earlier in life, is that you can actually drag any PDF into Canva and the file becomes editable.
- If you’re a job seeker and your friend sends you a PDF resume or Cover letter, you can import and make edits
- If you’re putting together a deck at work or for school you can import an industry report and copy paste the data
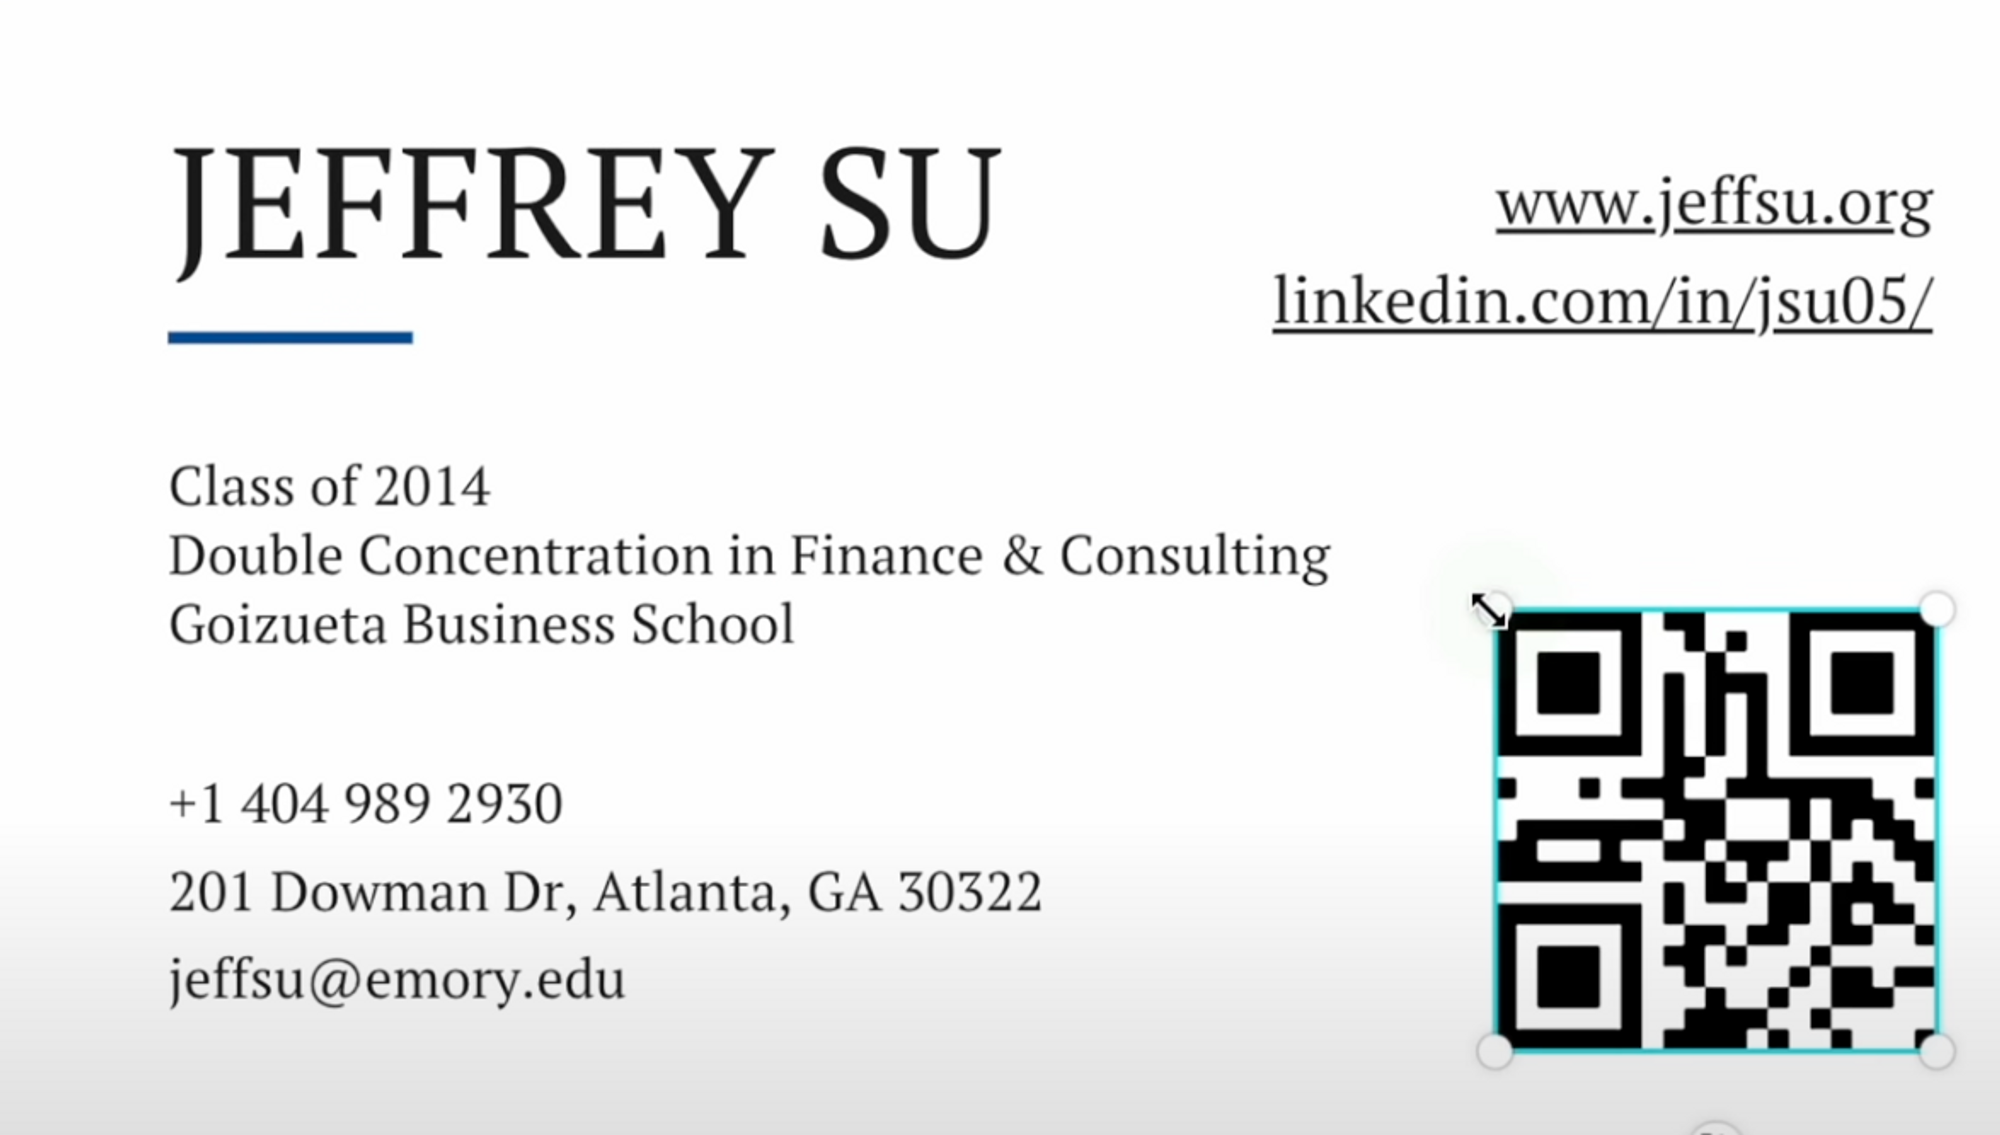
Tip #11 - Create Business Cards in Canva
Interestingly enough if you’re a working professional you probably don’t need to design your own business card, but if you’re a student I highly recommend you make one, you will stand out from your peers during the internship or job search process.
And because I’m the best, I’ve already created a free template for you to use and I already linked it in the Resources Section on top.
If you don’t think this is good enough, fine, go to the homepage, type in “business cards” and choose one of the templates.
Btw, you don’t need to actually print these. Simply download as a PNG or JPEG image and send this as part of a follow up after a networking chat or informational interview.


Tip #12 - Canva’s Font Pairing Guide
Throughout this post you might have noticed my color and font choices look pretty good 😏.
And that’s thanks to Canva’s free guide on font pairing, where they list out 30 very aesthetic examples, it will help you A LOT!
Tip #13 - Canva’s Color Wheel Tool
This free color wheel tool will walk you through what types of colors go well together.
I am not artistic, I have never studied design so I guarantee you, these are very dummy friendly!
Tip #14 - Remove Background with Canva
This tool works for both people and logos. You literally click on Edit Image > Background Remover and the background is gone.
Tip #15 - Download with Transparent Background
After getting rid of the white background of a logo for example, you can download the image with a transparent background so you can insert it into a presentation or a video.
- Just press Download and check the option “Transparent Background”
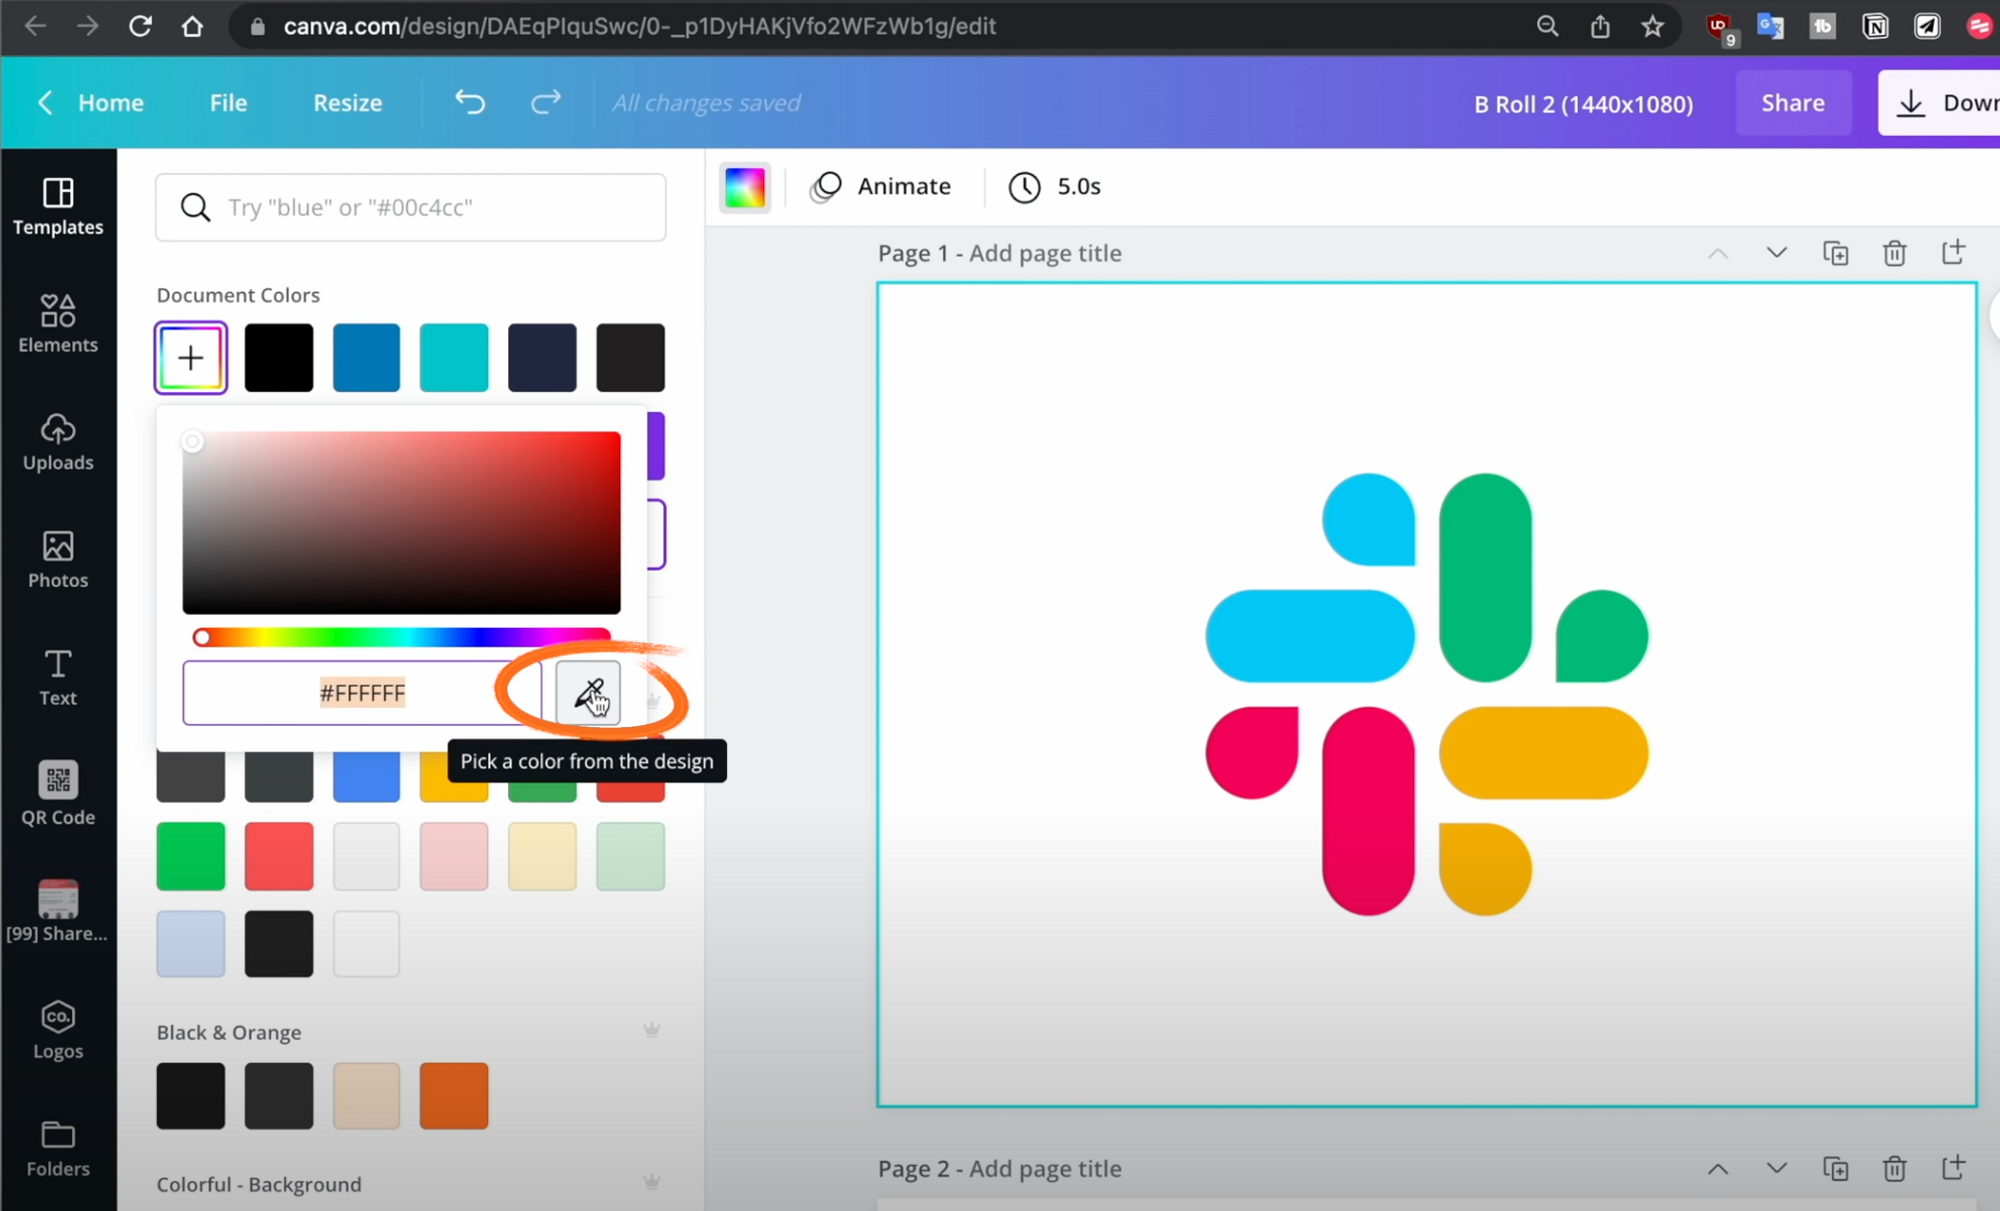
Bonus tip - Canva’s Eyedropper Color tool
Basically go to any element > Go to color > Pick color and you can select the dropper tool to copy any color that’s on your screen.
Yes you can do the same thing with the first hack I talked about, but this speeds things up drastically.

Want (even) more Canva tips?
Then feel free to check out my 7 Creative Ways to use Canva video!